Introduction
Handcrafted leather carving is a timeless art form that transforms plain leather into intricate, meaningful works of art. For pet lovers, custom leather pet portraits offer a unique way to preserve the memory of a beloved companion. In this tutorial, we’ll walk you through the process of creating a handcrafted leather pet portrait—from the essential tools and materials to the carving and coloring techniques you'll need.
Materials & Tools You’ll Need
Before you begin, make sure you have the following items ready:
-
Vegetable-tanned leather (1.4mm thick – ideal for carving)
-
Leather carving and burnishing tools (for shaping and detailing)
-
Tracing paper (to transfer your pet’s portrait onto the leather)
-
Leather filler (to smooth out any surface gaps)
-
Leather glue (for bonding filler to the surface)
-
Craft knife (for precision cutting)
-
Acrylic paints (for coloring the portrait)
-
Fine-tip brushes (for painting small details)
-
Spray bottle (to moisten the leather before carving)
-
Diamond chisel (to punch stitching holes)
-
Waxed thread & needles (for hand-stitching)

Step-by-Step Guide to Creating a Leather Pet Portrait
Step 1: Transfer Your Pet’s Outline onto Tracing Paper
-
Start by printing a clear, high-resolution photo of your pet for reference.
-
Place a sheet of tracing paper over the printed image. Using a fine-tip pen or pencil, carefully trace the main outlines of your pet’s face, including key features such as the eyes, nose, ears, and the direction of the fur.
-
Be as detailed as possible—these lines will serve as the template for your carving and help capture your pet’s unique expression.

Step 2: Dampen the Leather
-
Lightly spray both the front and back of the leather with water until it's evenly moistened.
-
Let it sit for a few minutes to allow the moisture to soak in.
-
Damp leather becomes softer and more flexible, which helps it hold carved details more effectively and makes the carving process much easier.

-
Step 3: Transfer the Outline onto the Leather
-
Place the tracing paper with your pet’s outline onto the dampened leather, carefully aligning it in your desired position.
-
Using a stylus or a fine-point tool, gently trace over the lines to imprint the design onto the leather surface.
-
Once finished, lift the tracing paper and check the clarity of the transferred lines.
-
Make sure all key features—such as eyes, nose, and fur flow—are clearly visible before moving on to carving.

-

Step 4: Carve and Sculpt the 3D Pet Portrait
-
Using leather sculpting tools, begin shaping the leather from the back to create raised areas.
-
For high points—like the forehead, nose, and mouth—press gently from the back side of the leather to push these features outward.
-
For low points—such as the eye sockets and under the eyes—press from the front side to create depth and shadow.
-
Take your time studying your pet’s facial structure to accurately recreate its unique contours and expression.

Step 5: Fill the Indentations on the Back
-
Carving from the front and back creates indentations on the reverse side of the leather.
-
To stabilize the piece, mix leather filler powder with leather glue and use it to fill in the hollow areas on the back.
-
Allow the filler to dry completely before continuing with any fur texture detailing on the front.

Step 6: Carve the Fur Texture
-
Using fine-point carving tools, carefully etch the fur details following the natural direction of your pet’s hair growth.
-
Vary the pressure of your strokes to create depth and dimension, which enhances the lifelike appearance of the fur.
-
Pay close attention to the flow of the fur around the eyes, muzzle, and ears for added realism.

Step 7: Add Color to the Leather Portrait
-
Use acrylic paints or alcohol-based dyes to carefully apply color to your pet’s portrait.
-
Work in thin layers, starting with lighter tones and gradually building up to darker shades.
-
This layering technique helps maintain natural shadows and prevents the colors from looking too heavy or artificial.
-
Take your time blending tones, especially around the eyes, nose, and fur highlights, to capture your pet’s unique look.


Step 8: Finish and Stitch the Leather
-
Attach a second piece of leather to the back to cover the filled areas and enhance durability.
-
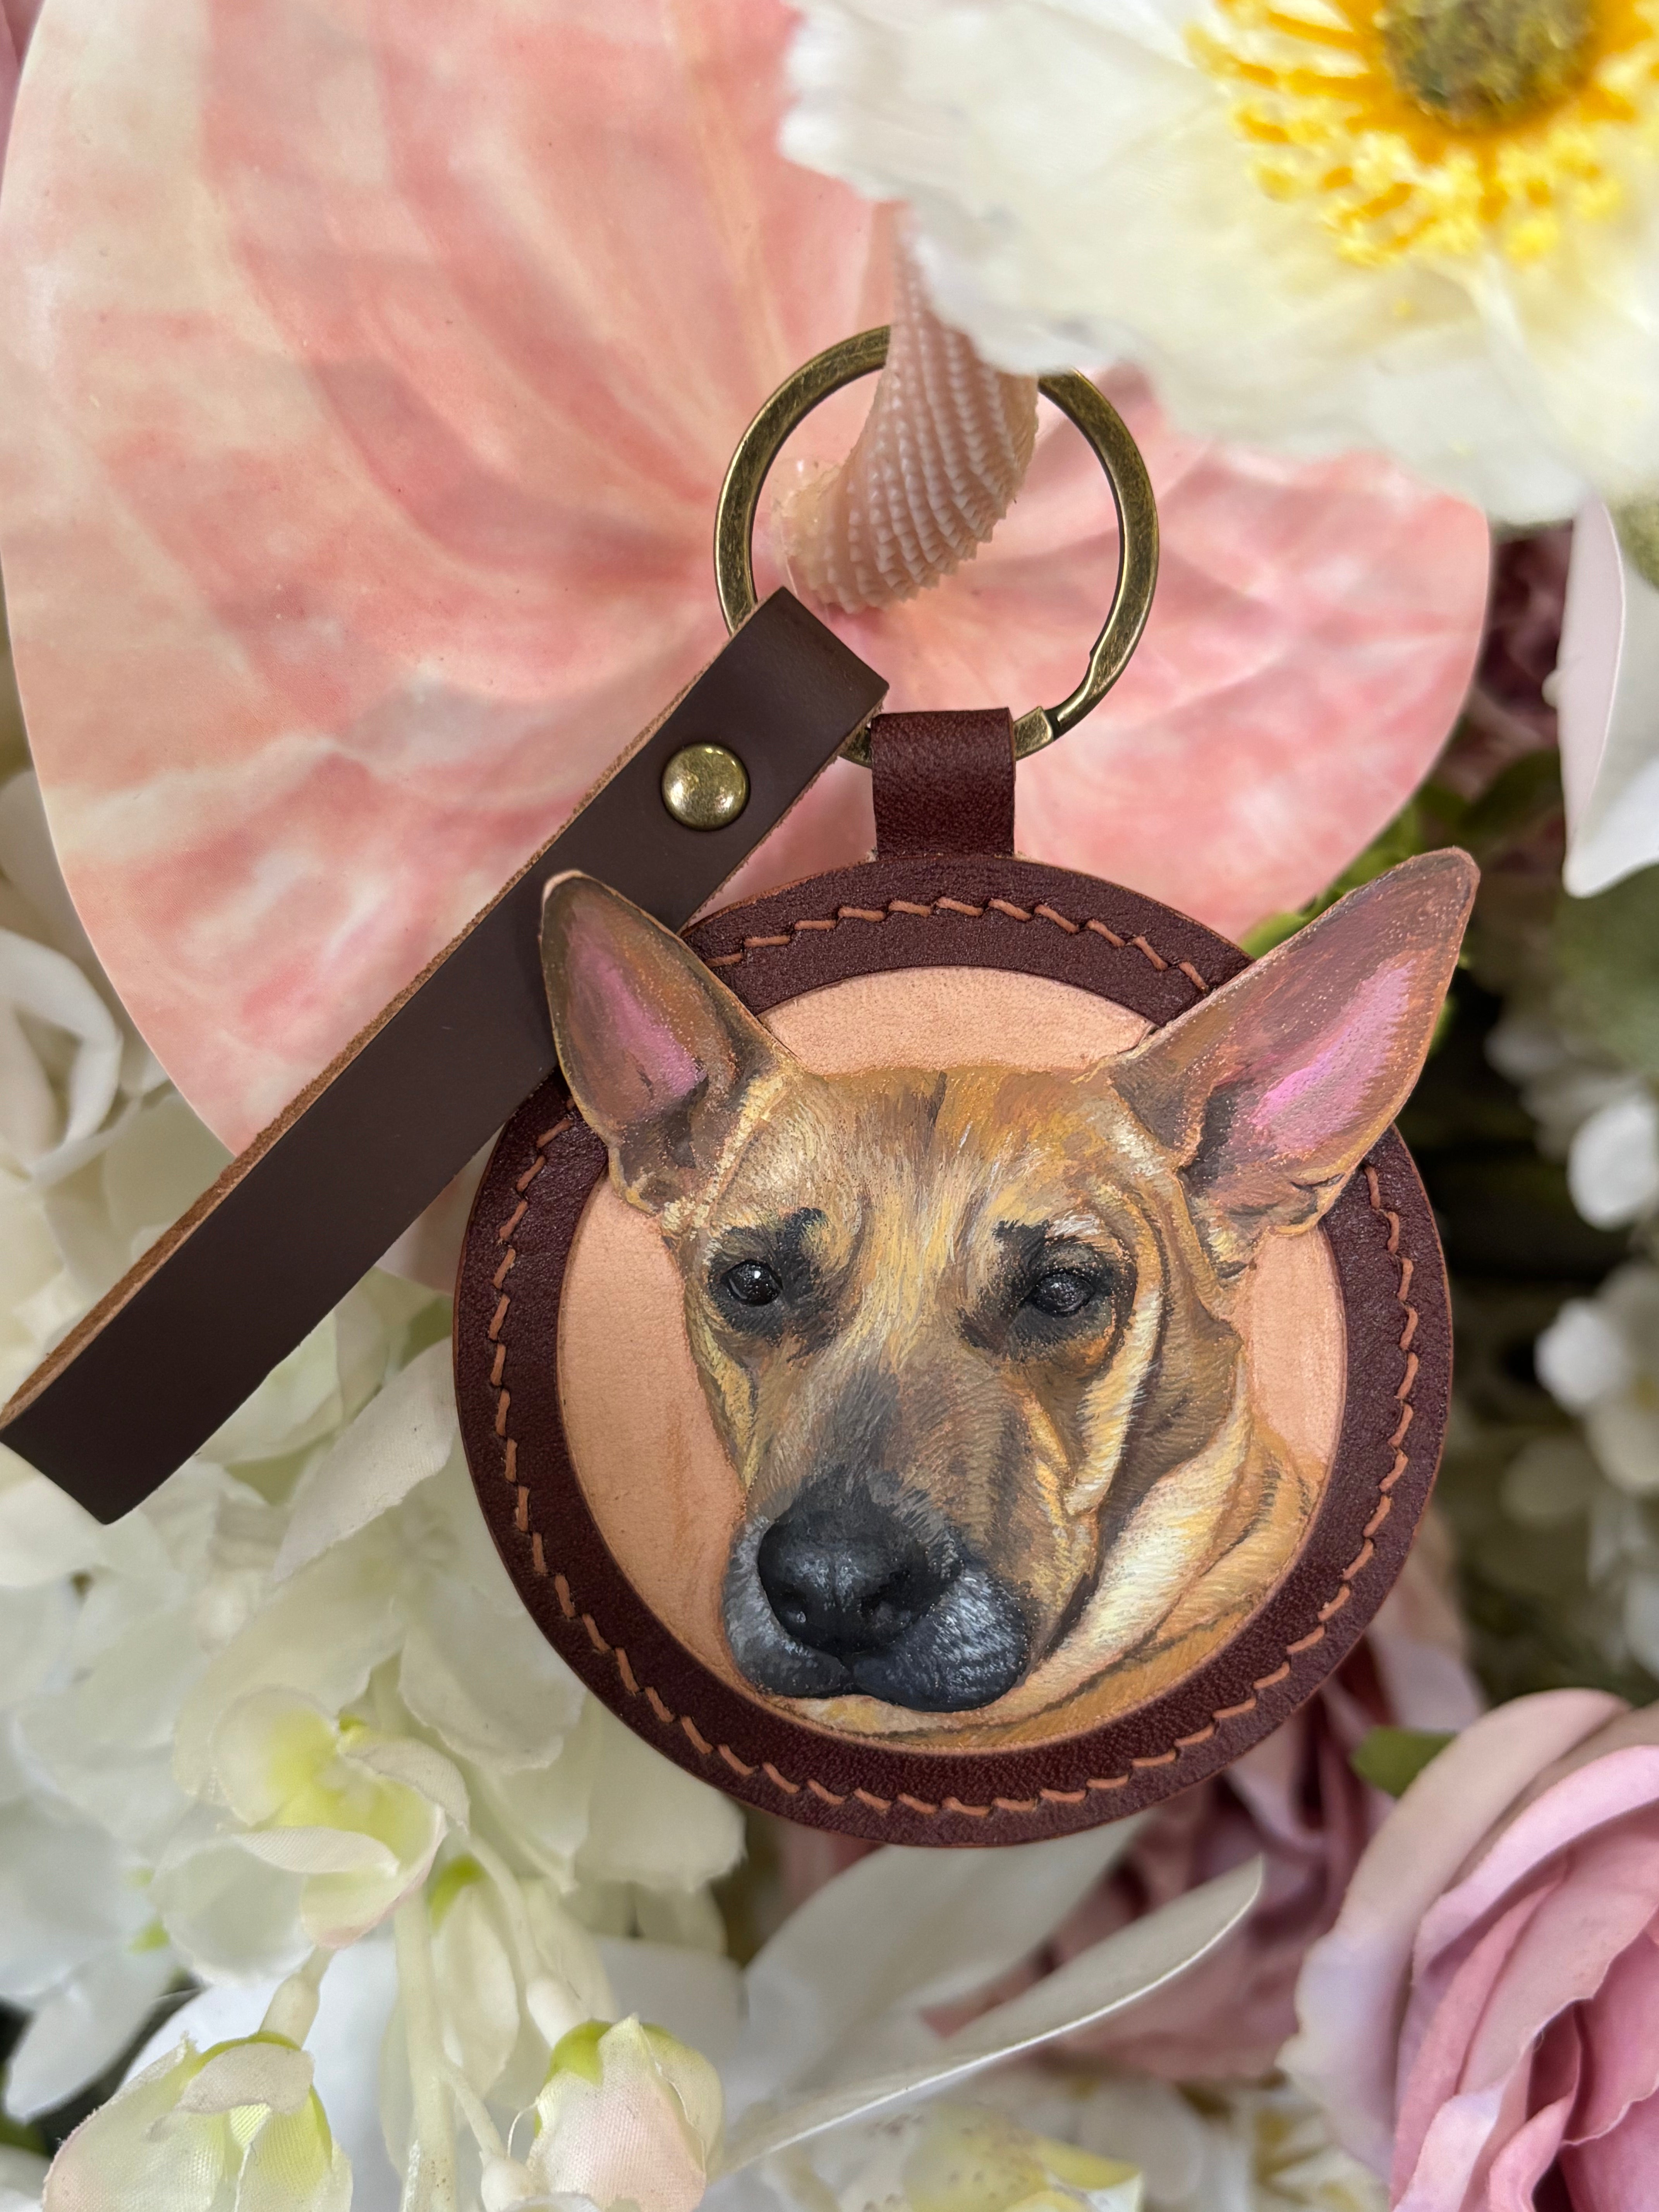
Use a craft knife to trim the final shape—whether it's circular, oval, or a custom silhouette.
-
Punch stitching holes with a diamond chisel, then hand-stitch around the edges using waxed thread for a clean, professional finish.
Final Thoughts
Creating a custom leather pet portrait is a rewarding and meaningful process—perfect for pet lovers and leathercraft enthusiasts alike. Whether as a heartfelt keepsake or a one-of-a-kind handmade gift, a leather pet portrait beautifully captures the memory of a beloved companion.
If you're interested in a professionally made custom leather pet portrait, visit Naomi Leather Art to get your design started!